
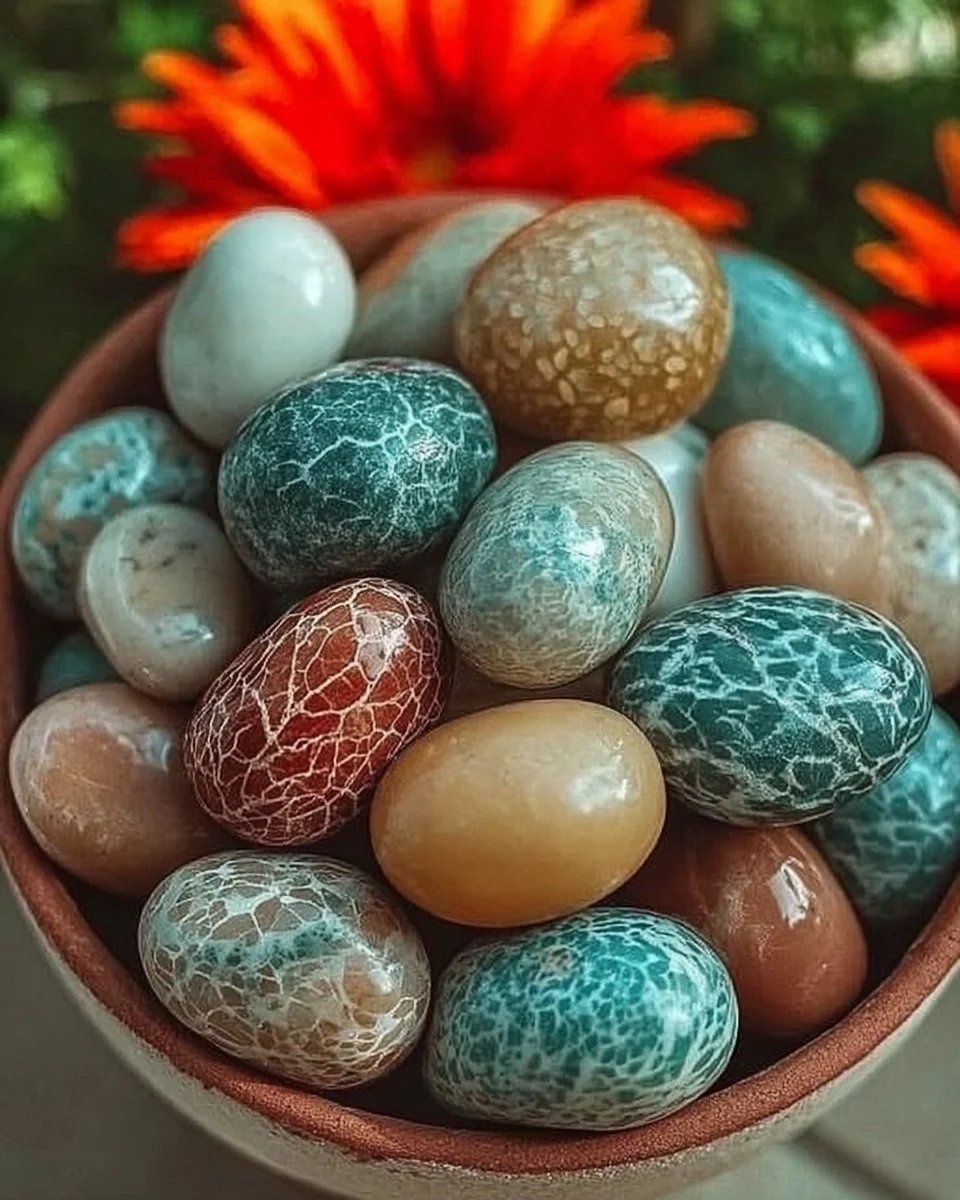
Transform Your Space with DIY Aroma Stones: Enjoy Delightful Scents Using Simple Ingredients
Imagine stepping into your home after a long, hectic day. The door creaks open and you’re enveloped by a soothing ambiance, the air gently infused with delightful scents that speak of home, comfort, and warmth. Your heart softens, a smile lingers on your lips, and as you take a deep breath, you feel the stress of the day dissolve like sugar in warm tea. This serene haven was crafted by you, with a simple yet creative project: DIY aroma stones.
Aroma stones are not just a way to enjoy pleasing scents; they turn an ordinary room into a sanctuary, breathing life and personality into your space. They’re beautifully versatile too—they can reflect your style, suit your mood, and give each corner of your home a bespoke fragrance that becomes a delightful signature of you. Let’s dive into the joyful world of making your own aroma stones, where creativity and relaxation intertwine to create breathtaking beauty right at your fingertips.
Why We Adore DIY Aroma Stones
Creating DIY aroma stones isn’t just about crafting; it’s a journey that allows us to engage our senses, express our creativity, and enhance our well-being. The simple act of mixing fragrances, choosing colors, and molding stones can whisk you away into a meditative state, bringing forth a flow of calmness. Many of us have embraced the idea of using natural elements for our well-being, and aroma therapy offers myriad benefits—from easing stress and anxiety to uplifting moods and improving concentration. The beauty of aroma stones lies in their simplicity; they don’t require elaborate tools or extravagant ingredients. In fact, you probably have most of what you need right at home!
The Benefits of Aroma Stones: When to Use Them
As the seasons turn and life unfolds in its beautiful unpredictability, there are countless occasions to employ your aroma stones:
-
Celebrations: Birthdays, anniversaries, or a simple gathering with friends become even more special with inviting scents wafting through the air. Imagine a gathering surrounded by the tranquility of lavender and chamomile, calming nerves and filling hearts with joy.
-
Quiet Moments: Whether it’s reading a book in your favorite nook, stretching on a yoga mat, or sipping tea during a well-deserved break, your hand-crafted stones can infuse your environment with soothing fragrances.
-
Self-Care Rituals: Infuse your bath with sweet notes of citrus or comforting vanilla to make your relaxation time even more indulgent. Your aroma stones can play a crucial role in turning an ordinary evening into a spa-like experience.
Gathering Materials: Simple Ingredients for Maximum Joy
The beauty of this project is that you don’t need a long shopping list. Most of the ingredients can be found in your kitchen or local craft store. Here’s what you’ll need to embark on this sensory journey:
- Baking Soda (1 cup): The foundation of your aroma stones, it not only provides structure but also helps absorb fragrance.
- Cornstarch (1/4 cup): This adds a lovely texture, ensuring your stones are smooth and pleasant to the touch.
- Water (1/2 cup): Blending the dry ingredients into a cohesive dough.
- Essential Oils: This is where your creativity takes flight. Choose scents that resonate with you—lavender for relaxation, eucalyptus for clarity, or perhaps a cheerful orange or lemon.
- Food Colorings: A small palette for your stones to embody vibrant colors reflecting your personal style.
- Optional Add-Ins: Think about incorporating dried flowers or herbs for an extra layer of fragrance and beauty.
Crafting Your DIY Aroma Stones: A Step-by-Step Journey
Let’s roll up our sleeves and get our hands a bit messy—it’s part of the fun! Here is your step-by-step guide to creating these enchanting aroma stones:
-
Mixing Dry Ingredients: In a large bowl, combine the baking soda and cornstarch. The quiet crunch of the dry mix hints at the magic to come.
-
Adding Water: Gradually pour in the water while stirring. As the mixture thickens, the aromas start to intrigue. You might find yourself tempted to sneak a sniff of the essential oil you’ve chosen!
-
Incorporate Fragrances and Colors: Now for the fun part! Add several drops of your chosen essential oil(s) and mix well. For color, add drops of food coloring. You can create marbled effects or choose a single hue, letting your imagination lead the way.
-
Form the Shapes: Once the mixture has reached a playdough-like consistency, it’s time to mold your stones. Whether you prefer shapes, disks, or irregular pieces, let each piece reflect your artistic flair. Use cookie cutters, molds, or simply your hands!
-
Drying: Place your formed stones on a baking sheet lined with parchment paper. Let them air dry for 24-48 hours. Alternatively, you can place them in a low-temperature oven (around 200°F) for a quicker drying time.
-
Finishing Touches: Once dry, you can lightly sand any rough edges for a smoother finish. Give them a final scent boost by adding a drop of essential oil before displaying them.
Helpful Tips for Your Aroma Stone Journey
-
Layering Scents: Play with blending fragrances! For example, layer lavender with a hint of mint for a refreshing aroma.
-
Storage: Keep your aroma stones in a breathable container, away from direct sunlight to protect their colors and scents.
-
Refreshing Scents: If you notice the aroma fading, simply revive them with a few drops of essential oils.
Mistakes to Avoid
-
Overhydrating the Mix: It’s tempting to add more water, but too much will hinder the stone’s ability to hold its shape.
-
Skipping the Drying Process: Patience is key! Ensure they are fully dried to avoid any crumbling later.
Creative Variations to Explore
Feeling adventurous? Here are a few ideas to take your aroma stones to the next level:
- Infused Stones: Blend essential oils with dried flowers and herbs to enhance both scent and aesthetic appeal.
- Decorative Details: Once dry, paint or embellish your stones to reflect seasonal changes, holidays, or personal sentiments.
- Gift Sets: Craft personalized sets for friends or family, complete with their favorite scents and colors.
Presenting Your Aroma Stones
Once complete, it’s time to display your beautiful creations! Sit them on a decorative tray in your living area, use them as part of your table settings, or gift them in beautiful boxes with a handwritten note—sharing a piece of your heart through your craft.
Frequently Asked Questions
How long do aroma stones last?
With proper care, aroma stones can last for several months. Reapply essential oils to refresh their scent.
Can I use fragrance oils instead of essential oils?
Absolutely! Just keep in mind that fragrance oils may have a stronger scent and could potentially differ in quality and longevity.
Are aroma stones suitable for bathrooms?
Yes! Aroma stones are perfect for adding a pleasant scent to bathrooms, making them feel more welcoming.
Let Your Creativity Soar
As you glide through the process of creating your aroma stones, relish the simple joys of crafting something uniquely yours. Each stone embodies a piece of your personality, a soothing fragrance, and a palette that harmonizes perfectly with your space. Imagine the happiness in transforming your home, allowing delightful scents to greet you and your guests at every corner, a warm embrace of aromatic delight.
So grab your materials, gather your favorite fragrances, and let your creative spirit flourish. Save this pin for your next project, and dive into the satisfying world of DIY aroma stones—your future self will thank you for the inspiring energy and warmth you’ll infuse into your surroundings.
Meta Description: Transform your space beautifully with DIY aroma stones! Discover how simple ingredients can create delightful scents that elevate your home decor and uplift your mood. Crafting these stones is creative therapy that lets you express your style.
SEO Tags: #DIYHomeDecor, #AromaTherapy, #Crafting, #HomeFragrance, #Wellness, #CreativeProjects, #DIYDecor


