
Create Stunning Colorful Crystals at Home: A Fun DIY Project
Imagine the sun streaming through your living room window on a lazy Saturday afternoon. The world outside is buzzing with life, but within your cozy abode, an air of lovely anticipation fills the space. Your children, curious and energetic, venture into the realm of crafts armed with a simple array of supplies. Rock salt, white glue, food coloring, and glitter line your kitchen table, waiting to be transformed into something magical.
The idea of creating vibrant colorful crystals at home isn’t just another afternoon project; it’s a creative escape — a beautiful blend of science and art. Whether you’re looking to fill your home with enchanting decorations or you want to indulge your kids’ creativity, this easy DIY endeavor sparks joy and imagination. Plus, the best part? You don’t need an art degree or expensive materials to make this happen! Just let’s dive into this whimsical world of color and sparkle!
Why People Love This DIY Project
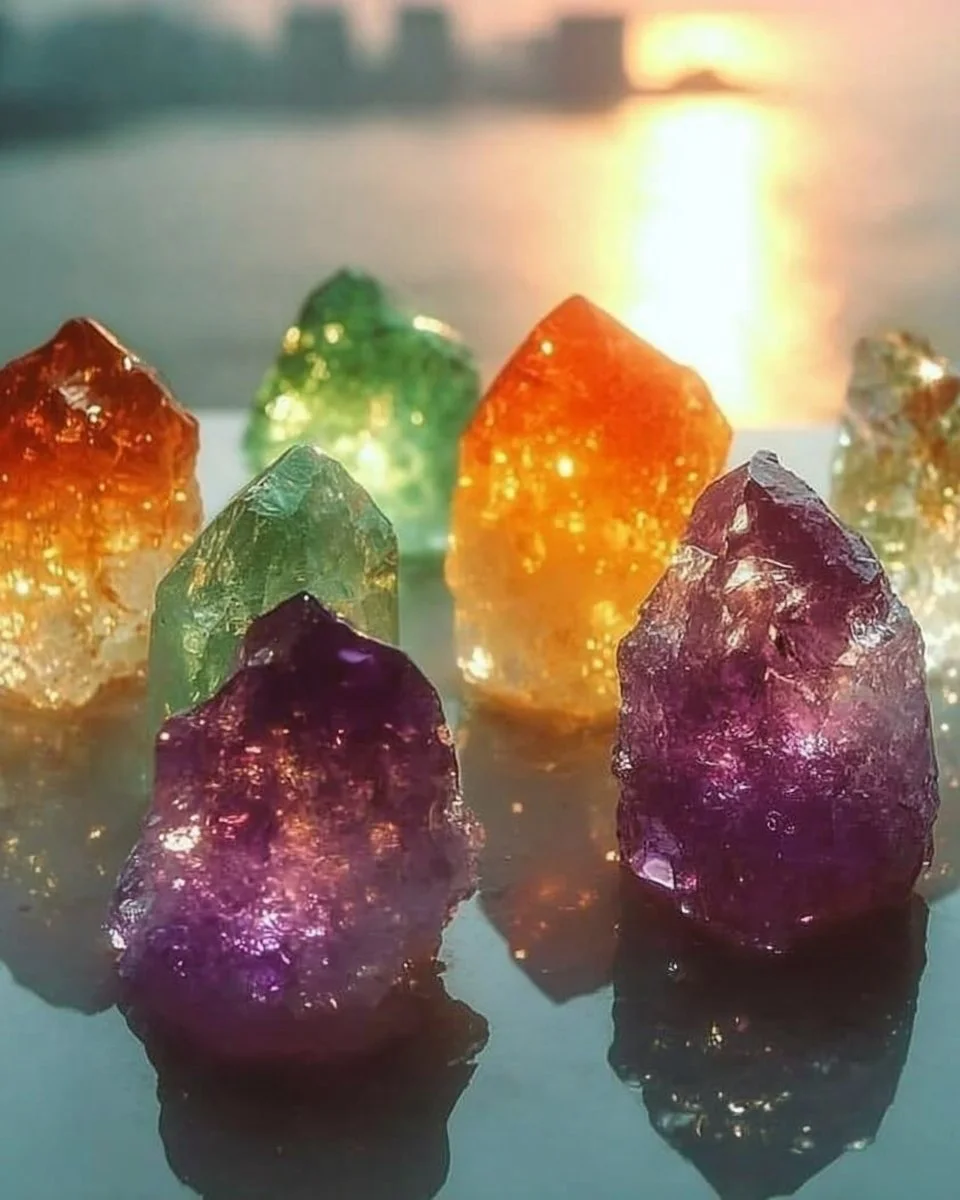
There’s something truly captivating about the way light dances through a crystal. The iridescence, the play of hues — it’s like holding a piece of the sky in the palm of your hand. Creating colorful crystals at home is more than just crafting; it’s a joyful exploration of chemistry and artistry that resonates with both children and adults alike.
Families adore this project not just for the stunning results but also for the opportunities it creates. “Look what I made, Mom!” or “Can we try making purple next?” are just a few moments you’ll cherish while crafting together. The combination of hands-on learning, creativity, and the delight of seeing your colorful creations come to life makes this an unforgettable experience.
Materials You’ll Need
Before we begin our colorful escapade, let’s gather a few simple materials that are not only accessible but are likely already in your pantry:
- Rock Salt: This is the star of our show. The larger crystals create eye-catching formations.
- White Glue: A bond between the salt and your creative vision. We’ll be using it as a medium for forming crystals.
- Food Coloring: It’s all about the colors! This is where you can let your creativity explode.
- Glitter (optional but oh-so-fun): Who doesn’t love a little sparkle? It adds a magical touch to your crystals.
Step-By-Step Instructions
Now that we have everything in place, grab your favorite apron and let’s get cracking on these colorful crystals!
-
Prepare Your Workspace: Lay down some old newspapers or a craft mat to catch any spills. Crafting can get a bit messy, but that’s part of the fun!
-
Mix Your Crystals: In a bowl, combine about 1 cup of rock salt and ½ cup of white glue. Use a spoon to mix them well until the salt is thoroughly coated. The texture should be gritty but packable.
-
Add Color: Now comes the fun part! Choose your food coloring. A few drops can create pastel hues, while more will yield vibrant shades. Mix it through your salt and glue mixture until you achieve your desired color. The more you mix, the more vibrant your creation.
-
Sprinkle Some Sparkle: If you want that extra glittering effect, sprinkle in some glitter and fold it gently into your mixture.
-
Shape Your Crystals: Take a handful of the mixture and mold it into interesting shapes on a tray or a baking sheet lined with parchment paper. You can create your own little sculptures or simply heap it in a mound.
-
Let Them Dry: Allow your creations to dry for 24 hours. As they dry, they will harden and form those stunning crystals.
-
Admire Your Work: Once fully dry, gently peel them off the parchment paper. What you’ll find are gorgeous, sparkling crystals ready to display!
Helpful Tips for the Best Results
As you embark on this colorful journey, keep these tips in mind:
-
Don’t Rush the Drying: The longer you let your creations dry, the better the crystals will form. Patience is key!
-
Experiment with Ratios: Different amounts of glue and salt can yield various textures. Play around with it to find what you love the most!
-
Use Different Containers: Experiment with plastic molds or cupcake tins for unique shapes!
Common Mistakes to Avoid
Even though this project is simple, here are a few beginner pitfalls to watch out for:
-
Mixing Too Quickly: Take your time mixing colors and materials. Over-mixing can result in a dull color.
-
Skipping the Sparkle: Remember, glitter isn’t just for kids! A touch of sparkle adds to the charm significantly.
-
Not Allowing for Proper Drying: Rushing this step might lead to a structure that crumbles rather than glistens.
Creative Variations to Try
Why not put a spin on your crystals? Here are some creative variations to consider:
-
Layered Colors: Use different bowls for various colors and layer them in a clear container for a stunning display.
-
Themed Shapes: For a festive touch, mold your crystals into seasonal shapes like hearts for Valentine’s Day or snowflakes for winter celebrations.
-
Natural Elements: Add bits of dried flowers or leaves into your mixture for an organic feel.
Presentation Ideas for Your Crystals
Once your crystals are ready, how you display them can elevate their beauty:
-
Glass Jars: Place them in clear glass containers with lids. This adds elegance and protects them from dust.
-
Window Sills: Let them catch the sunlight! The light refracting through them will breathe life into your space.
-
Gift Tags: Use them as decor for gifts — perfect for a personal touch at birthdays or holidays!
Frequently Asked Questions
Can I use colored salt instead of food coloring?
Yes, you can! However, the intensity of the color will vary, so consider this when planning your project.
How long do these crystals last?
They are most vibrant when freshly made, but with care, they can last for months as centerpieces or decoration.
Is it safe for children?
Yes! All materials used are generally safe; however, supervision is recommended, especially with younger children.
A Lasting Impression
There’s a certain magic that unfolds when you transform everyday items into delightful creations. This DIY project not only nurtures creativity but also fosters hands-on learning and exploration within a family. Each colorful crystal you create isn’t just a piece of art; it’s a memory in the making — moments forged in laughter, curiosity, and a shared sense of accomplishment.
So, gather your loved ones, infuse your home with vibrant hues, and let the kaleidoscope of colors bring joy to your lives. This enchanting project awaits you. Will you take the plunge and create your sparkling gems?
Meta Description
Create beautiful, colorful crystals at home with just rock salt, white glue, food coloring, and glitter. Follow our simple steps for a fun DIY project!
Suggested SEO Tags
- DIY Crafts
- Colorful Creations
- Home Decor
- Kids Activities
- Creative Projects
- Handcrafted Crystals
- At-Home Science Projects
At the end of the day, crafting colorful crystals isn’t just about the end result. It’s about the laughter, the mess, and the colorful chaos that brings everyone together. Let the world outside melt away as you dive into the enchanting universe of DIY crystal crafting!


