
Create Stunning Clear Glue Flower Suncatchers! 🌼 Easy Steps & Fun Decorations Invite Light in Beautifully
There’s something magical about the way sunlight dances through colored glass, casting vibrant hues across the room. Picture this: a cozy Sunday afternoon, a bright ray of sunshine streaming through your kitchen window, and you’re surrounded by the cheerful chatter of family and friends. You’re gathering around the table, trays of snacks nearby, while vibrant arts and crafts supplies beckon to you from the corner. It’s the perfect moment to create something beautiful, something that captures that sunlight and transforms it into an enchanting display right in your home.
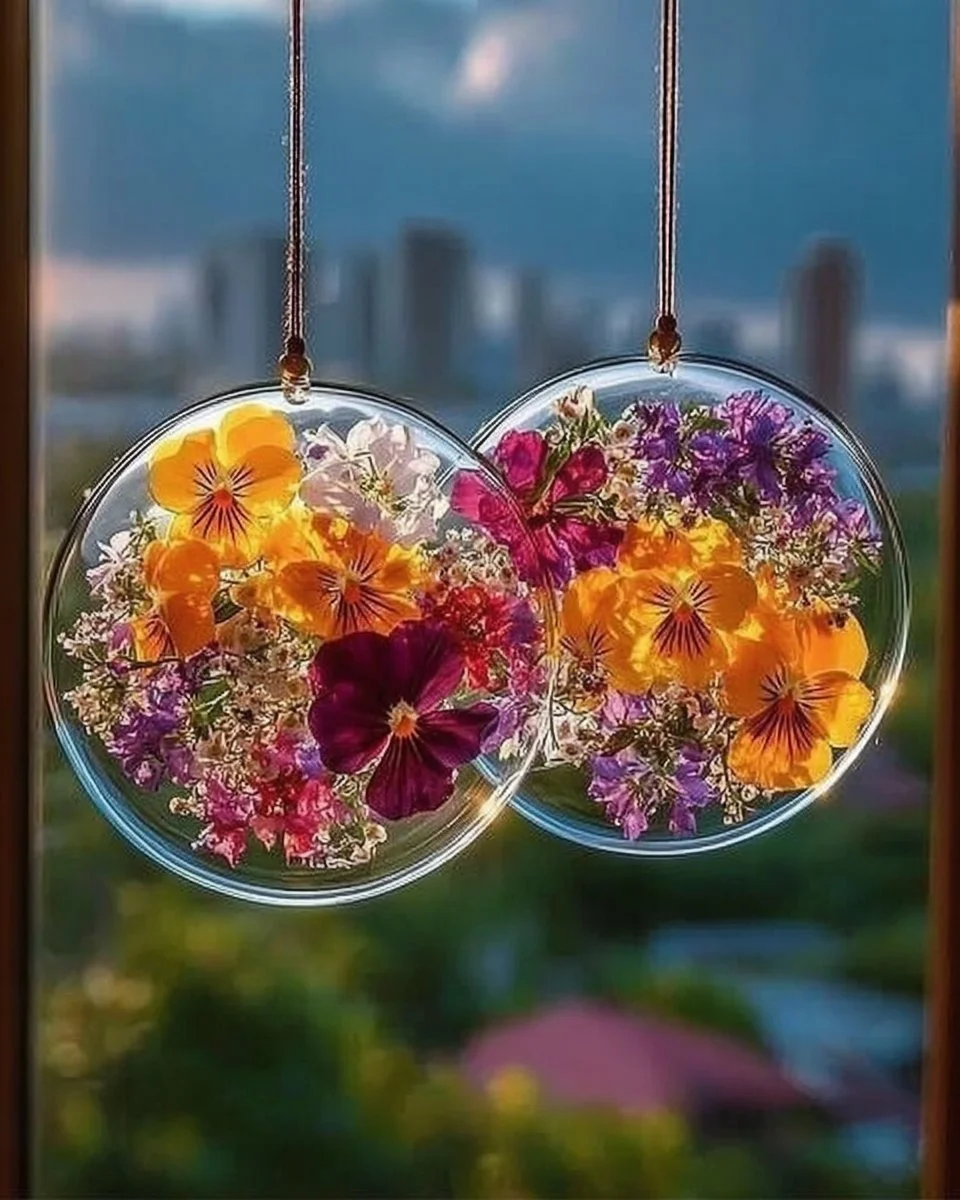
What if I told you that with just a few simple supplies, you could craft your own stunning Clear Glue Flower Suncatchers? These cheerful decorations not only brighten up your living space but also become a fun and memorable eco-friendly craft to enjoy with loved ones. Let’s dive into this delightful project that will fill your home with light and laughter!
Why People Love This Idea
Who doesn’t enjoy a splash of color and creativity? These Clear Glue Flower Suncatchers have become a beloved project among crafters, both young and old, for many reasons. First, the vibrant colors bring life to any window, creating a playful atmosphere that feels like a warm hug. Second, the creativity involved allows each person to express their own style — whether you prefer delicate pastel petals or bold, tropical blooms, the possibilities are endless. Lastly, the joy of seeing your handmade creation gleaming in the sunlight is nothing short of rewarding.
Benefits and Best Occasions to Use It
These suncatchers can be utilized for various occasions, making them a fantastic project year-round. Here are just a few reasons why you might want to make them:
- Spring and Summer Celebrations: Perfect for brightening up your space for family gatherings or outdoor barbecues.
- Decorating Kids’ Rooms: These colorful accents can make a child’s room feel like a sunny sanctuary.
- Gifts from the Heart: Handmade suncatchers make heartfelt gifts for birthdays, holidays, or just to say, “I love you.”
Materials You’ll Need
To create your Clear Glue Flower Suncatchers, gather the following materials:
- Clear Glue: Look for school glue or any craft adhesive that dries clear. This creates a lovely translucent effect.
- Flower Templates or Stencils: You can either draw your own or print off templates from the internet for inspiration.
- Colorful Tissue Paper: Choose vibrant colors like yellows, pinks, blues, and greens. The more colorful, the better!
- Cardstock or Plastic Sheets: This will serve as the base for your suncatchers, providing structure.
- Scissors: A crafting essential.
- Paintbrush: For applying the glue smoothly.
- Optional: Glitter, beads, or sequins for added embellishments.
With these materials in hand, you’re already halfway to crafting your very own window masterpiece!
Step-by-Step Instructions
-
Prepare Your Workspace: Gather your materials and find a cozy spot to work. Perhaps a sunny table where light can inspire your creativity.
-
Create Flower Templates: Use the cardstock to create your flower shapes. Don’t worry if they’re not perfect; nature is all about imperfection. Think of unique petal designs and varying sizes!
-
Cut the Tissue Paper: Tear or cut your colorful tissue paper into small squares or circles. Each piece will form petals, and the more variety in color and size, the more dynamic your suncatcher will be.
-
Brush on the Glue: Using your paintbrush, apply a thin layer of clear glue over the flower template. If the template is made of plastic, the glue will be easy to peel off once it dries.
-
Layer on the Tissue Paper: Begin adding your colorful tissue paper pieces onto the glued flower shape. Overlap them slightly for a nice blended look. Don’t hesitate to experiment with colors; let your creativity flow.
-
Seal Your Creation: Once your flower is covered, lightly brush another layer of glue over the top of the tissue paper. This will keep it secure and give it a glossy finish.
-
Add a Hook: While the glue is still wet, you can place a small loop of string or fishing line at the top of your suncatcher for hanging. Make sure it’s securely embedded in the glue.
-
Let It Dry: Find a sunny spot to lay your suncatcher flat and let it dry completely — this may take a couple of hours or overnight depending on your glue.
-
Hang and Enjoy: Once dry, find the perfect window to display your new creation, letting the sun shine through the vibrant colors.
Helpful Tips Throughout the Article
- Experiment with Textures: Don’t limit yourself to just tissue paper! Try using cupcake liners, fabric scraps, or even pressed flowers for a stunning twist.
- Use a Hair Dryer: If you’re feeling impatient, a gentle air setting can expedite the drying process. Just be cautious not to blow your carefully placed pieces around!
- Involve Everyone: Invite friends or family to join the crafting session! Kids can help tear paper or even paint the glue, while adults can introduce design ideas.
Beginner Mistakes to Avoid
Many first-time crafters might get caught up in detail, worrying about perfection. Remember, these suncatchers are all about embracing creativity. Here are a few common pitfalls to steer clear from:
- Overthinking Colors: It’s easy to feel overwhelmed by choices. Trust your instincts; sometimes the most spontaneous combinations are the most striking!
- Rushing the Validation: Allow ample time for drying. If you rush this step, petals may lift or shift, which could diminish the beauty of your design.
- Missing the Hook: Forgetting to add a hook can lead to frustration later. Make it a priority, so you’re not stuck scrambling for a solution later.
Creative Variations
Feeling adventurous? Here are some imaginative ideas to inspire your next project:
- Seasonal Themes: Create leaves and pumpkins for fall, snowflakes for winter, or stars for summer nights. Change them based on the season for year-round decor.
- Personalized Touch: Use your child’s handprints in the design to create a sentimental piece that captures a moment in time.
- Set the Scene: Instead of flowers, explore other shapes like butterflies, geometric designs, or even mythical creatures.
Storing Your Suncatchers
These delightful creations can last a long time with a bit of care. If you decide to store them away after a season, use a protective layer of tissue paper between each piece to prevent them from sticking together or cracking. A safe, dry space is key to ensuring their longevity.
Frequently Asked Questions
-
Can I use regular glue instead of clear glue?
While regular glue may work, it often dries opaque, limiting the light that shines through. Clear glue is best for that beautiful, transparent effect. -
What if my suncatcher doesn’t look right?
Don’t be too hard on yourself. Crafting is about enjoying the process! If something doesn’t look right, you can always reapply glue and add more elements. -
How do I clean them?
A gentle wipe with a soft cloth or a light soap solution will keep them looking fresh. Avoid abrasive cleaners that could scratch the surface.
Conclusion: Time to Brighten Your Home!
Embarking on the journey to create your own Clear Glue Flower Suncatchers opens up a world of creativity and warmth. As you hang them in your windows, you allow not only vibrant colors to fill your space but also a piece of your heart captured in each flower. Whether alone or with loved ones, this project is sure to bring laughter, joy, and a splash of delight into your home. So don’t hesitate — roll up your sleeves and get crafting today! Allow the light to shine through your unique creations and experience the pure bliss of homemade beauty.
Meta Description
Create stunning Clear Glue Flower Suncatchers with this easy step-by-step guide! Brighten your home and enjoy crafting fun memories with family and friends.
SEO Tags
- Clear Glue Suncatchers
- Flower Crafts
- DIY Home Decor
- Kids Crafting Projects
- Seasonal Suncatchers
- Eco-Friendly Decorations
- Creative Craft Ideas


