
Create Stunning Lava Lamp Style Suncatchers That Brighten Any Space!
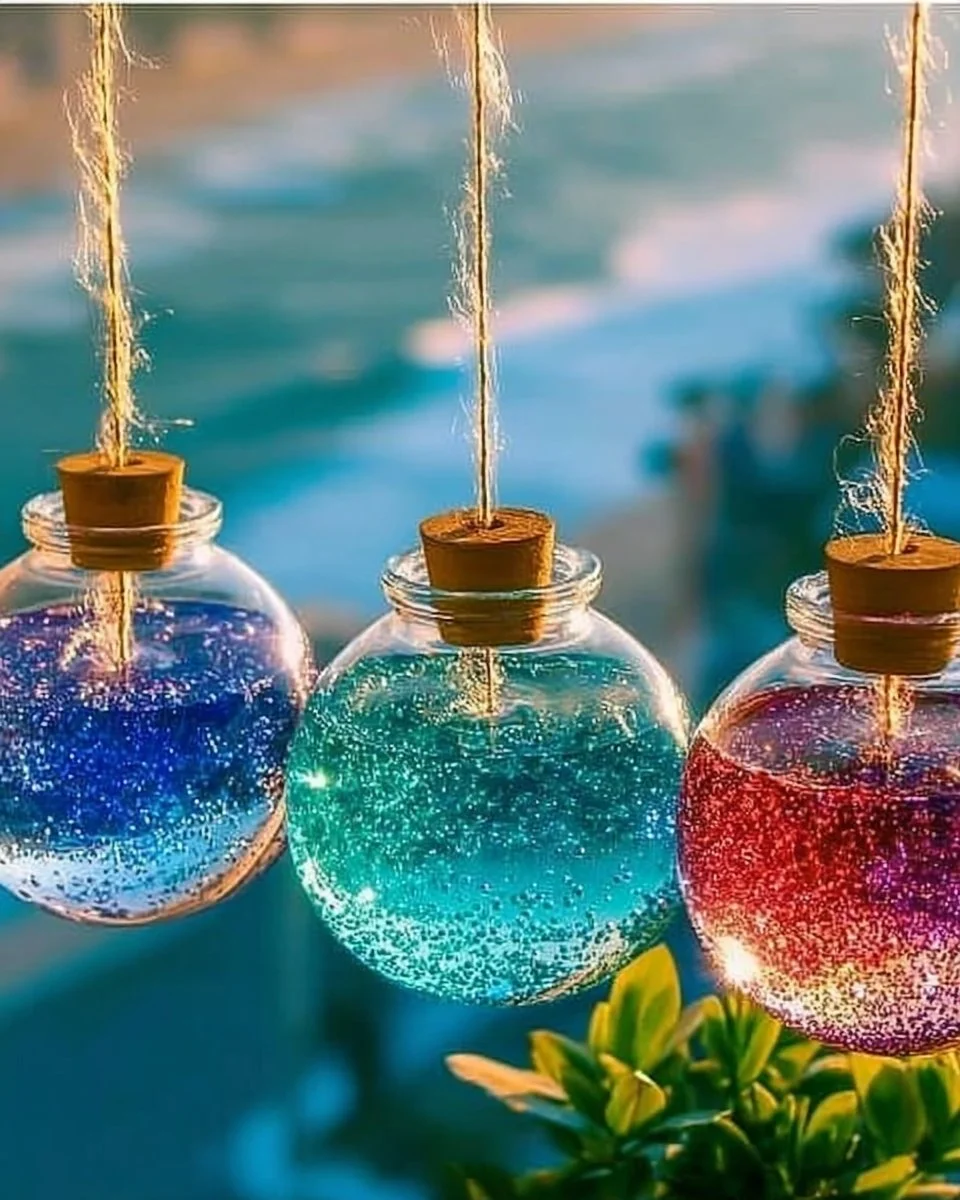
There’s a certain magic that happens when sunlight filters through colorful glass; it casts playful, dancing reflections that can transform a mundane room into a wonderland of hues. Picture this: It’s a lazy Sunday afternoon, and the golden sunlight spills through your windows, illuminating your living room. You’re nestled on the couch, snuggled under a soft blanket, sipping a cozy cup of cocoa. Nearby, vibrant, swirling suncatchers catch the light, creating a mesmerizing show on the walls. They seem to pulse with energy, reminiscent of a lava lamp’s entrancing movements, each twist and turn bringing a smile to your face.
This delightful scene can be yours with just a little creativity and a dash of DIY spirit! In this article, I’ll guide you through crafting stunning lava lamp style suncatchers that will not only brighten your space but also elevate your mood. These suncatchers are perfect for both kids and adults alike, invoking nostalgia while sparking imagination. So grab your crafting tools, and let’s dive into this colorful journey!
Why People Love This Idea
Creating suncatchers has been a cherished pastime across generations, and it’s clear why! The process combines creativity, joy, and a sense of accomplishment. As you mix vibrant colors and watch them swirl together, you find that every creation is uniquely yours, a little piece of art that encapsulates your personality and style.
Crafting these suncatchers serves not just as a way to decorate your space, but also as a therapeutic experience. It brings about a sense of calm and focus, perfect for a quiet afternoon with music playing softly in the background or a bustling family gathering filled with laughter and chatter. And let’s not forget—the end product is a cheerful, lively piece that draws compliments from visitors and charms those who live with it.
Benefits and Best Occasions to Use It
These stunning suncatchers are not limited to just window display; they can be a unique addition to various occasions. They’re wonderful for birthday parties, where they can serve as beautiful, colorful decorations. During holidays, like summer solstice celebrations or family reunions, they can evoke the spirit of the season, showering everyone with warmth and color.
Beyond celebrations, they make for a delightful gift—imagine giving a handmade suncatcher to a friend; it speaks of thoughtfulness and personal touch. You can even customize colors to suit the recipient’s favorite hues.
Materials You’ll Need
You’ll be delighted to know the materials for this project are easy to find and affordable! Here’s a little list to get you started:
- Translucent plastic sheets (think old plastic containers or craft sheets)
- Acrylic paints in vibrant colors (green, blue, purple, pink—choose whatever makes your heart sing!)
- Water (for achieving that swirling effect)
- Scissors (for cutting your plastic)
- Paintbrushes and sponges (for applying paint)
- Clear adhesive glue (to seal the edges)
- String or fishing line (for hanging your suncatchers)
- A shallow container or plate (for swirling and mixing)
Gathering these materials can be half the fun! Setting up a crafting corner with these items can stir excitement and anticipation.
Step-by-Step Instructions
Let’s roll up those sleeves and create our dazzling suncatchers!
1. Prep Your Workspace
Start by laying out all your materials on a clean, flat surface. Cover your workspace with newspaper or a plastic sheet—trust me, this will save you from potential paint spills!
2. Cut Your Plastic
Using your scissors, cut out your translucent plastic sheets into different shapes. Think circles, stars, or even abstract forms—whatever resonates with you! Aim for the sizes that will fit well in your window space, typically around 6-12 inches.
3. Create Your Colors
On your plate, drip small amounts of acrylic paints into various sections. You can experiment with blending colors, creating new shades, or simply keep them distinct for that classic lava lamp feel.
4. Mix in the Magic
Add a little water to your paints—about a teaspoon per color. This will create a more fluid consistency, allowing the colors to swirl beautifully once added to the suncatcher.
5. Paint and Swirl
Grab your paintbrush or sponge and start applying the watered-down paint onto your plastic shapes. Mix colors together right on the surface. You can use a brush for defined lines or a sponge for a soft melding of shades. The key here is to let your creativity flow! Watch as the colors intermingle, reminiscent of the mesmerizing movements in a real lava lamp.
6. Seal the Deal
Once your masterpiece is painted, allow it to completely dry. This might take a couple of hours. Once dry, you can seal the edges with clear adhesive glue to prevent the colors from chipping.
7. Prepare for Hanging
Cut a piece of string or fishing line to your desired length. Punch a small hole in the top of your suncatcher and carefully loop the string through, securing it with a knot.
8. Hang and Admire
Find the perfect spot in your home to hang your suncatchers. Whether it’s the living room, a cozy corner, or even a child’s bedroom, watch as the sunlight illuminates your designs, casting rainbows onto your walls.
Helpful Tips Throughout the Process
- Practice Patience: Allow each layer of paint to dry before adding more texture or color. This will create a beautiful depth and prevent muddling.
- Get Creative with Patterns: Try using sponges to create speckles or fabric scraps for textures.
- Play with Light: Test your suncatchers in different window settings throughout the day. The light transforms them beautifully!
Beginner Mistakes to Avoid
One common pitfall is rushing the drying process. Enjoy the anticipation! If you don’t let the paints dry properly, the colors may bleed into one another too much, losing that beautiful swirl effect you’re aiming for.
Also, avoid using heavy materials that can sag or warp under sunlight. The beauty of these suncatchers is their lightness and transparency, so stick to the translucent plastic sheets.
Creative Variations
Feeling adventurous? How about experimenting with glitter for a sparkling effect or adding light-catching beads to your designs? You could even incorporate stencils for patterns—like leaves or stars—to create different themes for types of decor.
Want to take it a step further? Try using glow-in-the-dark paint for a fun nighttime surprise—imagine how magical these suncatchers will look after dark!
Presentation Ideas
To showcase your suncatchers, consider grouping a collection together at different heights using simple hooks or mounting options. This not only creates visual intrigue but also allows varying light angles for different effects.
For a seasonal touch, hang certain colors or shapes during different times of the year—think pastel shades for spring or jewel tones for winter!
Storage and Maintenance Tips
If you ever feel the need to store your suncatchers, place them in a soft cloth to avoid scratches and keep them in a cool, dark space to prevent potential warping from sunlight. Maintenance is minimal; just a gentle free dusting now and then to keep them looking fresh will do the trick!
Frequently Asked Questions
Q: How long do these suncatchers last?
A: If made with durable materials and stored properly, they can last for years, brightening your space season after season!
Q: Can kids participate in this project?
A: Absolutely! Make it a family affair! Just supervise the use of scissors and ensure a safe workspace.
Q: What if I don’t have translucent plastic sheets?
A: No worries! Experiment with clean, clear food containers or even old CDs—get creative with what you have!
In Closing: Let Your Creativity Shine
Crafting your own lava lamp style suncatchers is not just a fun project—it’s a way to express your creativity and brighten your home with beautiful, personalized decor. Each swirl of color tells a story, bringing light and warmth into your space, making it feel uniquely yours.
So, gather those materials and let the sunlight guide your creativity. You’re not just making crafts; you’re illuminating your world, one vibrant suncatcher at a time! Don’t forget to save this pin for your next DIY project, and watch as each creation brings happiness to both you and those who see it. Happy crafting!
SEO Meta Description: Create mesmerizing lava lamp style suncatchers that brighten your space! Follow these easy steps with vibrant colors for a delightful DIY project perfect for kids and adults.
SEO Tags: #Suncatchers #DIYCrafts #HomeDecor #ColorfulDecor #CreativeProjects #FamilyFun #HandmadeArt


