

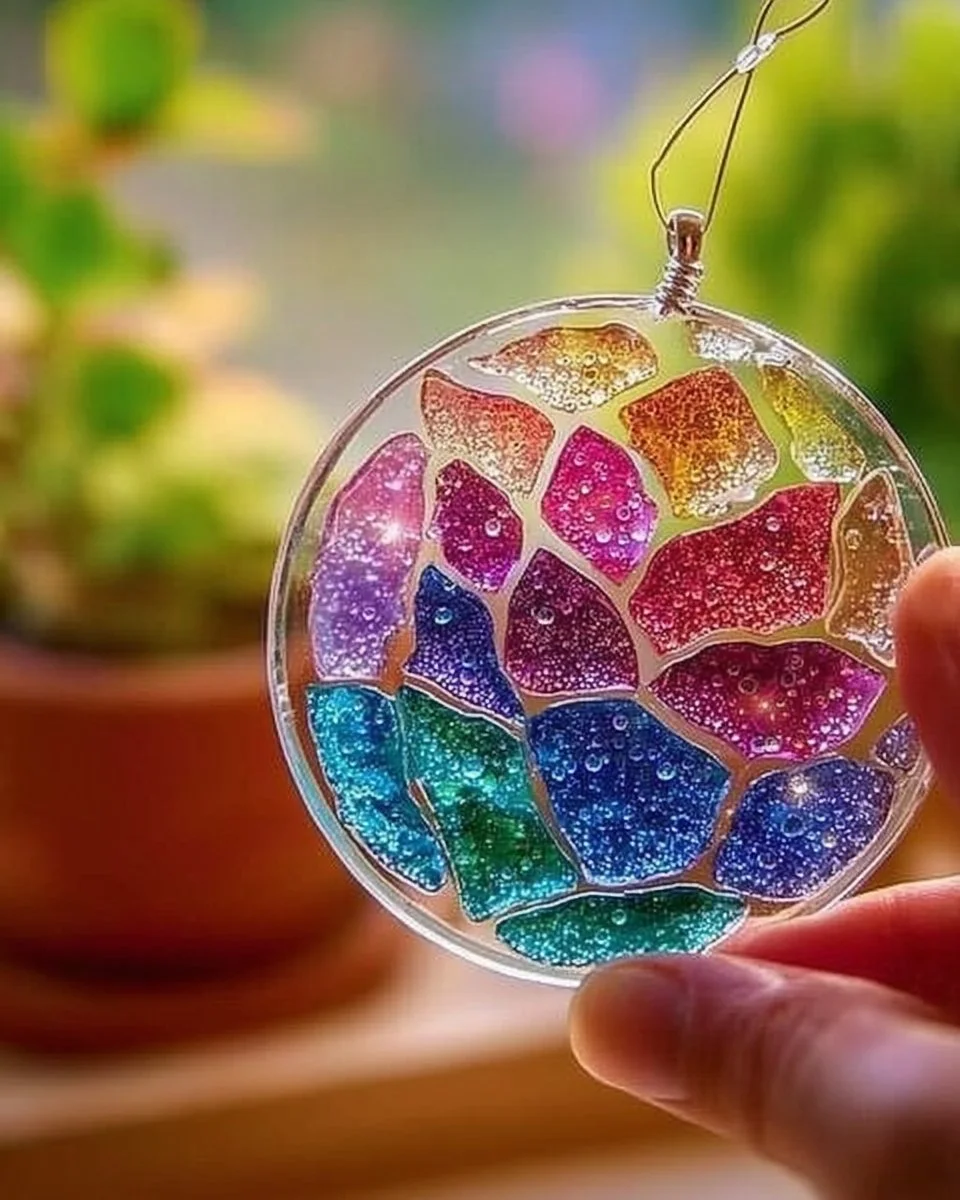
Transform Your Space with Beautiful Clear Glue Mosaic Suncatchers
Imagine a sun-drenched afternoon where light streams through your window, igniting vibrant colors that dance joyously around your living room. It’s a moment filled with warmth and inspiration, a reminder of the little joys that brightens our daily lives. Now, imagine capturing that charm not just once, but every day, with your very own DIY clear glue mosaic suncatchers. If this sounds as lovely to you as it feels to me, then grab your craft supplies because it’s time to transform your space into a colorful sanctuary!
Why People Love This Craft
In a world that’s often busy and chaotic, the act of crafting offers a sanctuary of peace—a moment where creativity reigns, and imagination knows no bounds. Suncatchers, in particular, touch our hearts with their ability to transform simplicity into beauty. They stir nostalgia, remind us of childhood arts and crafts, and invoke a sense of connection with nature as they refract light into stunning rainbows.
But this craft is more than just pretty decor; it’s a heartwarming activity perfect for all ages! Children can unleash their creativity, and adults can enjoy the therapeutic rhythm of gluing pieces together. Plus, there’s something deeply satisfying about watching your handiwork catch the light, adding a personal touch to your windows that store-bought items simply can’t replicate.
Benefits and Best Occasions to Use Suncatchers
The beauty of suncatchers goes beyond aesthetics. They can:
- Enhance your home decor: Packed with character and charm, they breathe life into any room.
- Make heartfelt gifts: Handmade gifts carry a personal touch that is often more cherished than expensive ones.
- Serve as seasonal decorations: Switch out colors or designs with the changing seasons for a fresh look year-round.
- Indulge in family bonding: Crafting becomes a delightful way to bond with loved ones, fostering creativity and communication.
Consider making suncatchers for seasonal events like spring blooms or festive holidays—imagine the joy of hanging a vibrant design during a family reunion or in celebration of a birthday.
The Materials You’ll Need
Creating your own mosaic suncatchers is wonderfully simple! Here’s a list of materials you’ll want to gather, but remember, this is a chance to express yourself, so feel free to improvise!
- Clear glue (like school glue or clear-drying craft glue): This will form the base for your mosaic.
- Transparency sheets or plastic lids: These will act as the canvas for your mosaic artwork.
- Colored tissue paper or cellophane: These lightweight materials add a burst of color to your creation.
- Scissors: To cut your decorative pieces.
- A small paintbrush: Perfect for applying glue evenly.
- Optional embellishments: Think beads, glitter, or sequins to add an extra layer of sparkle!
See how these materials can align with your creativity? Each piece you add can tell a story, and the options are limitless.
Step-by-Step Instructions
-
Prepare Your Workspace: Find a flat surface to work on and cover it with newspaper or an old cloth to keep things tidy. Have your materials close at hand so you can reach for them easily.
-
Cut Your Colored Pieces: Using your scissors, cut the tissue paper or cellophane into shapes. They can be squares, hearts, or even whimsical patterns. Experiment with different sizes and colors to create an interesting mosaic.
-
Apply the Glue: Pour a small amount of clear glue onto your transparency sheet or plastic lid. Using your paintbrush, spread a thin layer of glue evenly across the surface.
-
Start Placing Your Pieces: Now comes the fun part! Place your colored pieces onto the glued surface. Be creative! Overlap colors to create depth and let your inner artist shine.
-
Seal It Up: Once you’re satisfied with your design, gently brush a layer of glue over the top of your mosaic to give it a glossy finish and to ensure the pieces stay in place.
-
Let It Dry: Find a safe place for your masterpiece to dry completely, which may take a few hours. The transparency of the glue will allow light to pass through beautifully once it’s dry!
-
Hang Your Suncatcher: Once your suncatcher is dry, find a lovely spot in your window where the light can showcase your creation. Use a simple suction cup hook or string to hang it.
Helpful Tips Along the Way
- Mix Up the Shapes: Use a variety of shapes like circles, triangles, and even abstract pieces to create an engaging composition.
- Stay Light: Avoid using too much glue; it can weigh down your pieces and make them less vibrant through the light.
- Test Your Colors: Before you dive into your final design, make a small sample with your color pieces to see how they look in the light. It’s a great way to plan!
Common Mistakes to Avoid
- Using Too Much Glue: It’s tempting to use glue like you’re painting the Mona Lisa! However, too much can result in a tacky finish and delay drying times.
- Ignoring Drying Time: Be patient and allow ample time for your suncatcher to dry. Rushing this step can lead to smudging or even pieces falling off!
- Forgetting to Seal It: Skipping the final glue layer is a rookie mistake—this seals your pieces and gives that gorgeous glossy finish.
Creative Variations
Once you’ve mastered the basics, consider making themed suncatchers! For spring, go for florals with soft pastels. For autumn, use rich oranges and browns. You could even make your suncatcher match your favorite holiday colors for a personal touch to seasonal decor.
Display and Presentation
When it comes to showcasing your suncatchers, think about combinations! Hang several in different sizes for a stunning cluster effect. You could even create a themed window space that reflects a season, holiday, or your artistic flair.
Maintenance Tips
To maintain the vibrant beauty of your suncatchers, gently wipe them down occasionally with a damp cloth. Avoid any harsh chemicals, as they can diminish the glossy shine of your glue. Store your suncatchers in a safe place when not in use to keep them looking fresh and new.
Frequently Asked Questions
Can I use regular school glue?
Absolutely! Just ensure it’s clear-drying for the best results.
How long do they last?
With proper care, your suncatchers can last indefinitely, bringing joy to your space for years.
Can I make them outdoor-friendly?
Yes! Consider using outdoor-safe materials to hang them outside. Just be sure they are sheltered from the rain!
A World of Color Awaits
Crafting your very own clear glue mosaic suncatchers is more than just a fun project; it’s an inviting invitation to connect with friends and family and let your unique creativity shine bright against the ordinary fabric of everyday life. With each piece you create, you’re not only bringing a splash of color into your home but also stitching memories together with every stroke of glue.
So, gather your materials and let your imagination flow! Brighten up your windows and heart with these delightful suncatchers—because life is far too beautiful to only be viewed through a plain pane of glass. Ready, set, craft!
SEO Meta Description: Transform your space with beautiful clear glue mosaic suncatchers! A perfect DIY craft for all ages, follow our simple steps for vibrant decor that brightens your windows.
SEO Tags: #MosaicCraft #Suncatcher #DIYHomeDecor #Crafting #HomeDecor #ArtProjects #SuncatcherDIY


