
Ignite a Little Magic: Creating a DIY Lightning Storm in a Jar with Your Kids
Imagine a drizzly afternoon, the kind that tempts you to snuggle under a blanket with a good book and a steaming mug of cocoa. But there’s something magical about the pitter-patter of raindrops against the window, pulling in your little ones with the promise of adventure. As a busy mom, I cherish those moments, seeking simple yet captivating activities that can transform an ordinary day into an extraordinary one. Today, I invite you to explore a delightful DIY project that’ll not only spark joy but also ignite a little magic in your home: the DIY Lightning Storm in a Jar!
This whimsical experiment is quick, easy, and perfect for channeling those rainy-day vibes into something truly enchanting. Join me as I delve into the enchanting world of science combined with a dash of creativity, making every drop of rain feel like a playful spark of joy.

Why Do People Adore This Project?
There’s something undeniably soothing about watching a storm brew within the confines of a glass jar. Families engage with this project not just for the end result, but for the laughter shared and the collective wonderment ignited. It’s a sensory feast that introduces not just scientific principles but also teamwork, patience, and the joy of creation!
Whether you’re looking to captivate curious minds, foster creativity, or simply make memories, this captivating craft offers a blend of learning and laughter that children (and adults) will treasure. The moment the ‘lightning’ flashes through the jar, the amazed expressions on your children’s faces are worth its weight in gold.
Benefits and Occasions to Embrace This Delight
This charming experiment isn’t merely a rainy day distraction; it can serve as a versatile tool for a variety of occasions. From home-school science lessons filled with learning to family game nights that crave a little extra sparkle, the DIY Lightning Storm in a Jar fits right in.
- Educational Value: Introduce fundamental concepts of weather, static electricity, and reactions in a way that’s memorable and engaging.
- Creative Expression: Customize the jars with different color combinations to match your family’s unique aesthetic.
- Mindfulness and Relaxation: Encourage mindfulness as you and your kids focus on the process of creating something beautiful together.
The Charm of Gathering Your Materials
So, what will you need to embark on this delightful adventure? Gather the following materials, many of which you likely already have around the house:
- A clear jar (like a mason jar)
- Water
- Vegetable oil (think of it as your storm cloud!)
- Food coloring (the vibrant hue adds personality)
- A small spoon or a craft stick for swirling
- An old flashlight or a small LED light (your magical lightning)
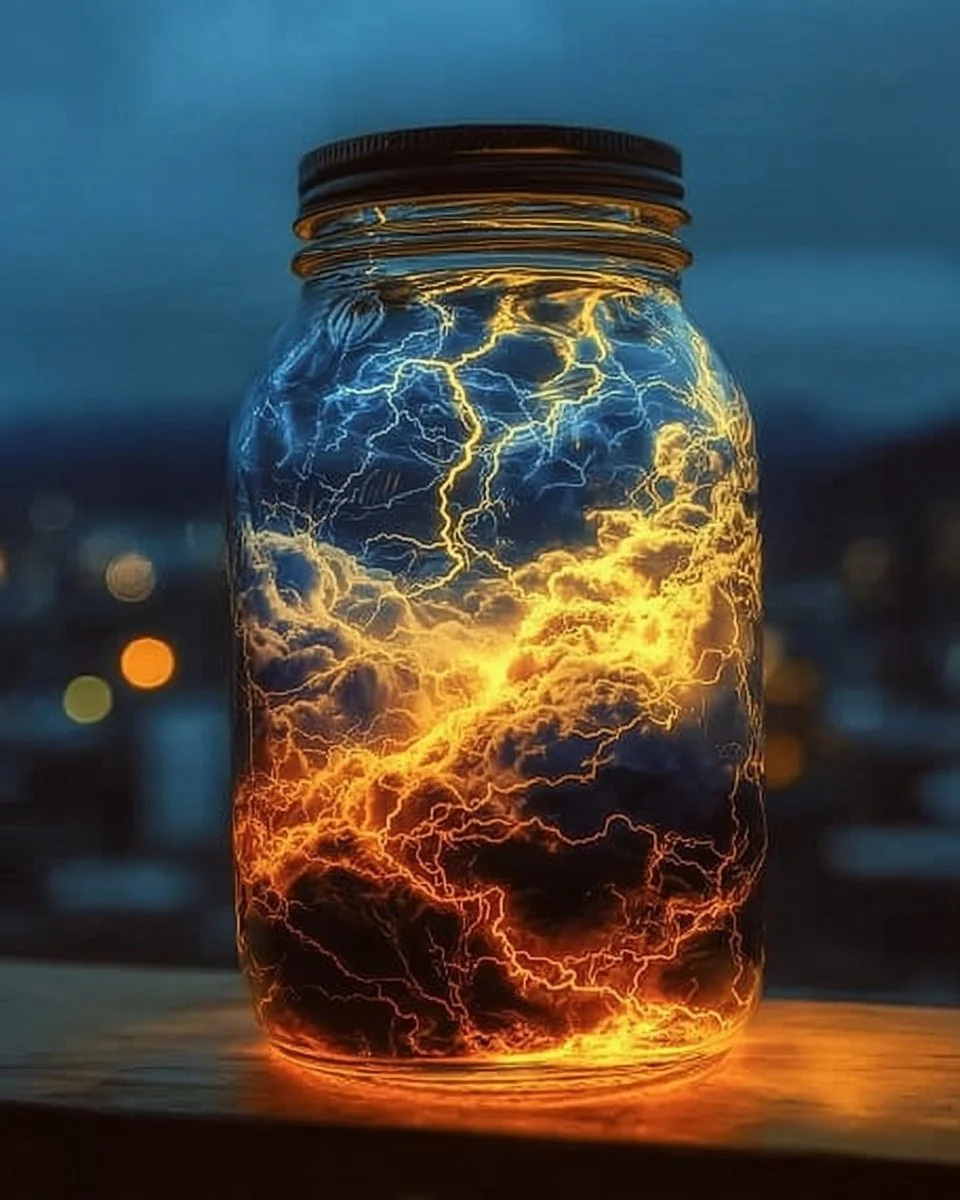
Each item plays its part in the lush atmospheric storytelling of your storm-in-a-jar. The jar represents our world, the water our atmosphere, and the oil? It mimics those hefty, billowy clouds we all admire on gray, thunderous days.
Step-by-Step Instructions to Create Your Lightning Storm
Ready to bring a storm of wonder into your home? Let’s dive into the creation process!
-
Fill Your Jar: Begin by pouring water into your clear jar, filling it about three-quarters full. This represents the atmosphere awaiting a lightning strike!
-
Add Oil: Next, gently pour in vegetable oil until the jar is almost full, leaving just a little room at the top. Take a moment to watch how the oil rests on the surface, creating intriguing layers—much like the clouds in the sky.
-
Swirl in Some Color: Using your small spoon or craft stick, add a few drops of food coloring to the oil. Fun fact: The color will float on top! This scenic display offers a sneak peek of the storm brewing inside your jar.
-
Create Your Lightning: This is the most exhilarating part! Turn off the lights and shine your flashlight or LED light into the jar from below. Observe as your beautiful creation lights up, mimicking the awe-inspiring flashes of nature’s own.
-
Optional Twists: For an added sense of drama, you could gently swirl the jar after adding food coloring—altering the patterns of ‘lightning’ and clouds.
Helpful Tips for a Successful Storm
Creating a lightning storm in a jar is mostly straightforward but there are a few common missteps to avoid.
- Ensure that the jar is clear and clean so that your ‘storm’ can be fully appreciated. Any residue can obscure the beautiful layers.
- When pouring the oil, do it gently! Rapid pouring can lead to unnecessary mixing and a cloudy appearance—not ideal for a storm.
- Emphasize the importance of patience; wait a few moments after adding your food coloring to see those mesmerizing droplets settle.
Mistakes to Dodge
For a seamless experience, here are some beginner mistakes to avoid:
-
Too Much Water or Oil: Balance is key! Too much of one can inhibit the visual effects you’re hoping for.
-
Ignoring Cleanup: It can be messy! Keep paper towels handy to wipe any spills along the way.
-
Rushing Through Steps: Savor the process! The beauty lies in the experimentation, and rushing can dull the excitement.
Creative Variations to Explore
One of the exhilarating aspects of crafting a lightning storm in a jar is the ability to put your personal stamp on it. Here are some creative variations:
-
Different Food Coloring: Jazz things up by mixing colors to mimic various weather systems—blues for gentle rain, vibrant yellows for sunny weather, or even reds for a fiery sunset.
-
Confetti Clouds: Consider adding small pieces of cotton or glitter to represent fluffy clouds swirling amidst the ‘lightning’.
-
Scented Storm: Add a few drops of essential oil to infuse your storm with delightful scents, creating an aromatic experience to accompany the visual.
Captivating Presentation Ideas
Once you’ve crafted your magical storm, think about how to showcase it! Set the jar on a windowsill, backlit by the soft glow of the afternoon sun. Use it as a centerpiece during family gatherings or craft evenings. The interplay of the light and colors will delight every guest.
Storage Tips
After your experiment, consider these simple maintenance tips to prolong your lightning storm’s lifespan:
- Keep the jar sealed unless in use to prevent dust from settling on the surface.
- Store it in a cool, dry area—excess heat could affect the oil.
FAQ: Common Wonderings
Q: Can I use other types of jars?
Absolutely! Any clear jar can work—so feel free to get creative with shapes and sizes!
Q: How long will the storm last?
The visual display can vary, but with sealed storage, your creation may last a few days before you need to refresh it.
Q: How does the oil and water separation work?
Oil and water do not mix because of their differing densities and polarities, which creates that stunning layered effect we love.
Sparking Joy Through Science
Isn’t it incredible how something as simple as a few everyday materials can conjure up an entire storm right in your living room? The DIY Lightning Storm in a Jar isn’t merely an experiment; it’s a gateway to imagination, creativity, and countless cherished moments with your family.
So the next time the rain taps at your window, gather your little helpers, channel those rainy-day vibes, and create something magnificently magical together. With each flash of light, remember: you’re not just creating a storm; you’re igniting joy, wonder, and a love for learning. Here’s to stirring up a little magic in our homes!
SEO Meta Description: Discover the magic of DIY Lightning Storm in a Jar! This engaging and simple experiment is perfect for rainy afternoons, bringing joy and learning to your home through creativity and science.
SEO Tags: #DIY #KidsActivities #FamilyFun #Crafts #ScienceExperiments #RainyDayIdeas #MomLife


